Tavolo da carteggio…!! Chart table..!!

Ciao a tutti!
nonstante abbia messo in vendita Dreamer i lavori continuano, questo per migliorare ed ottimizzare gli spazi in questa bellissima barca.
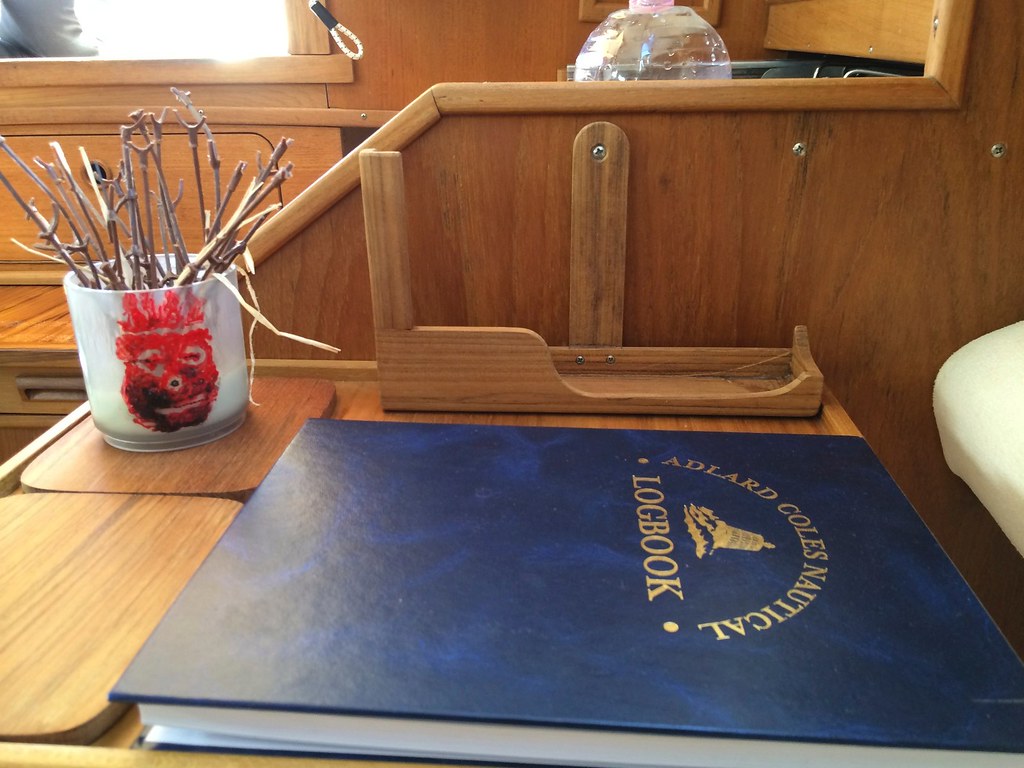
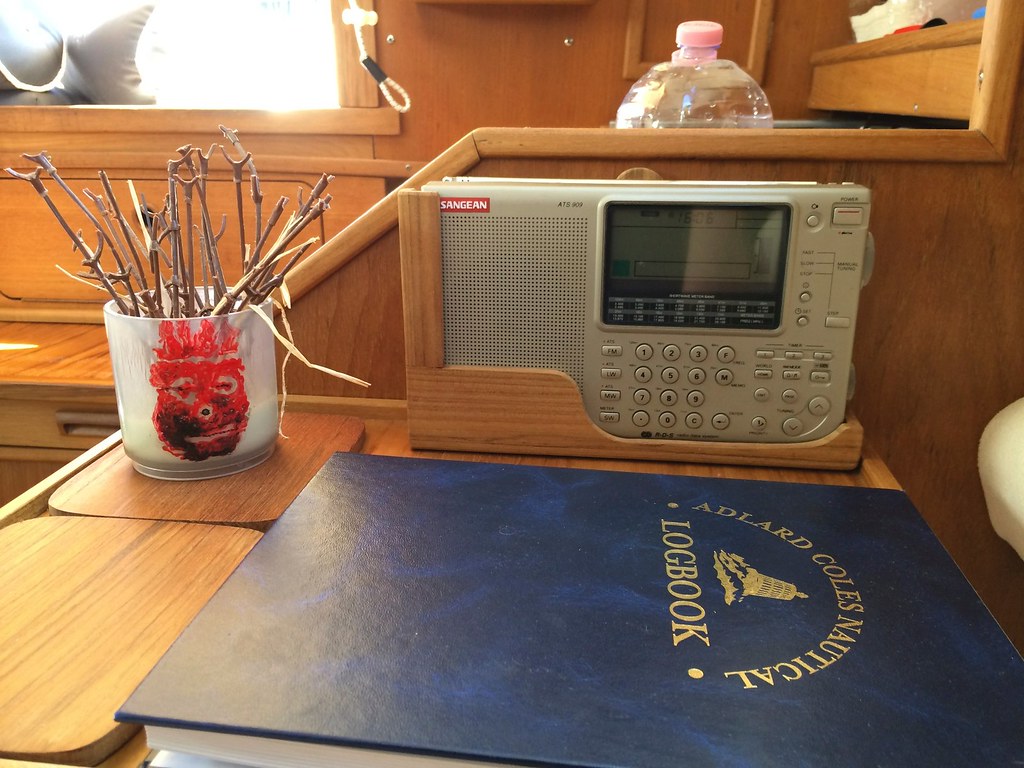
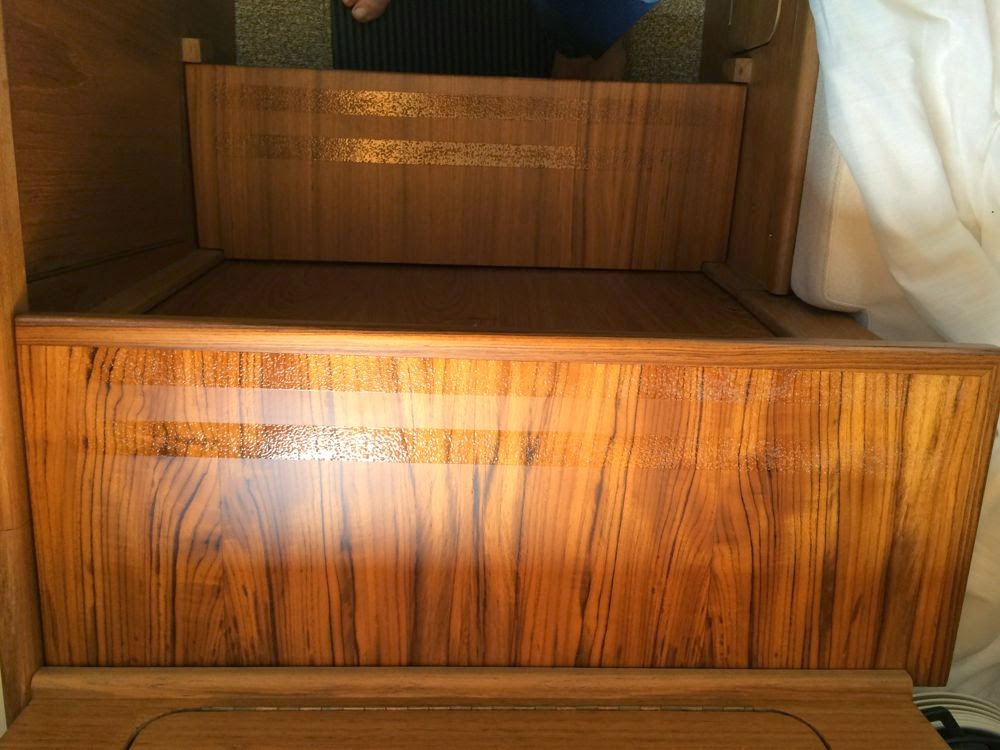
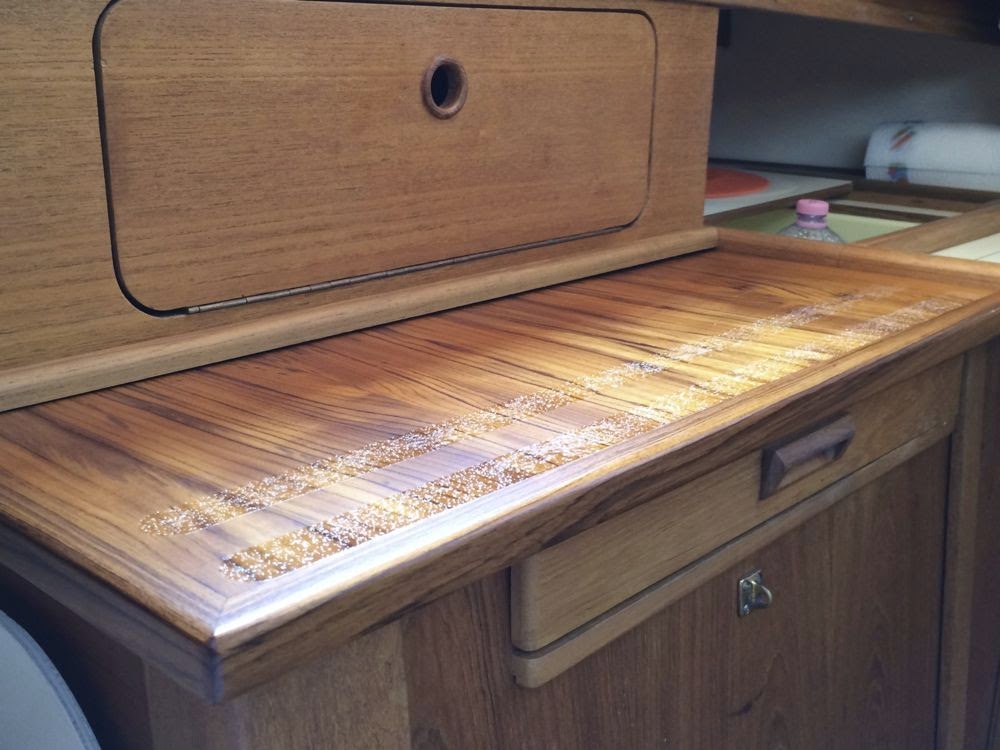
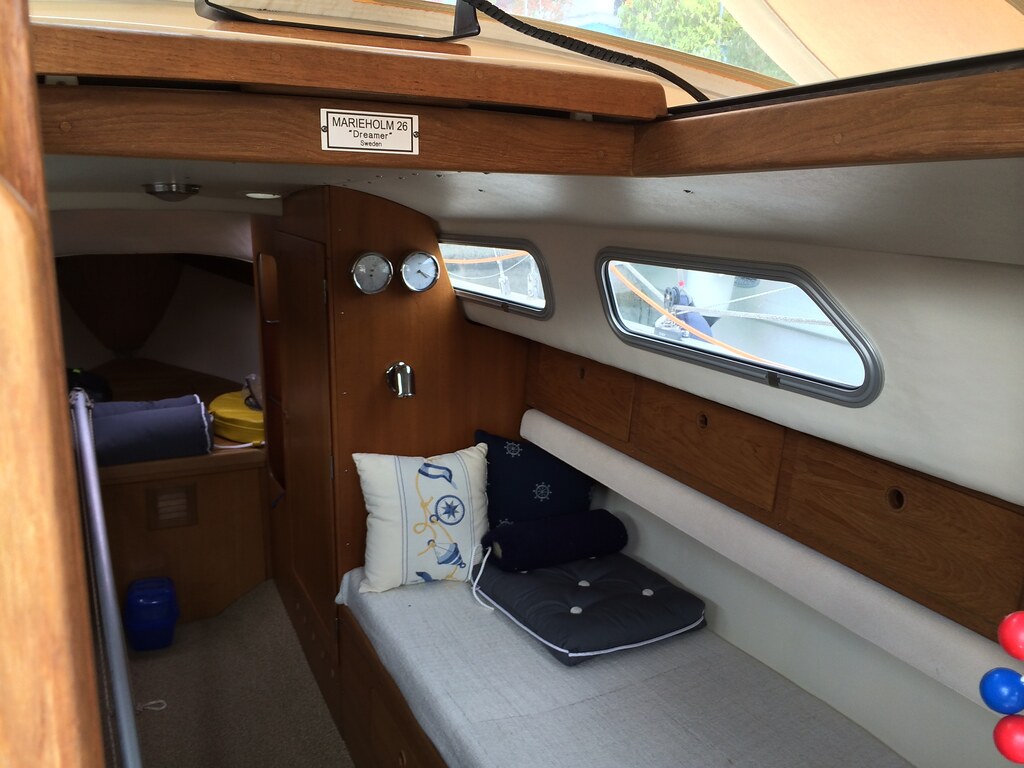
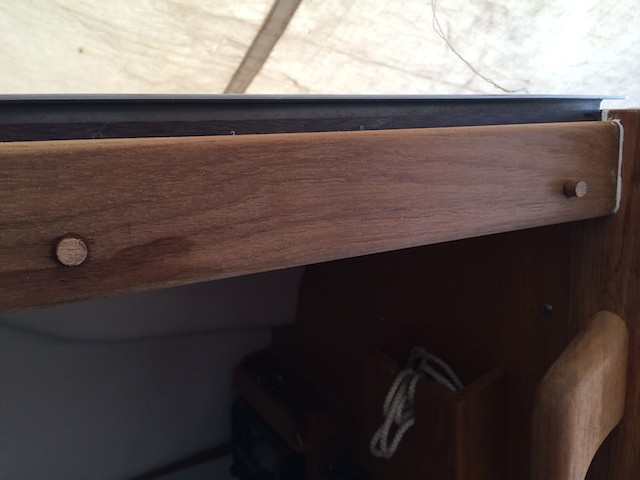
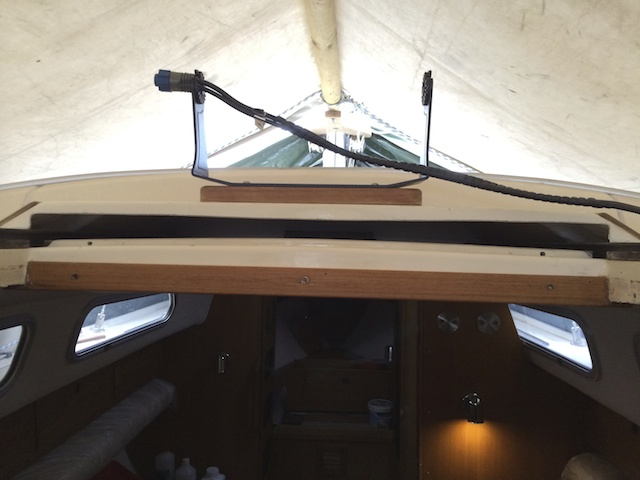
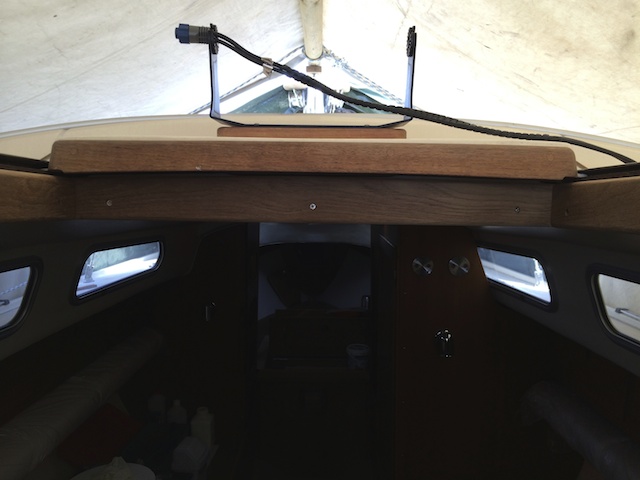
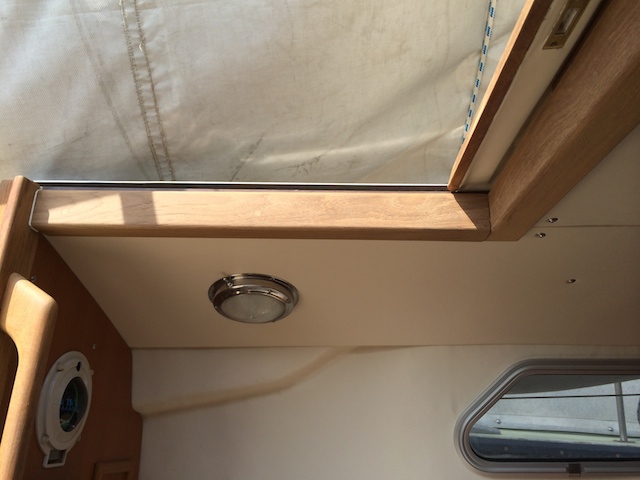
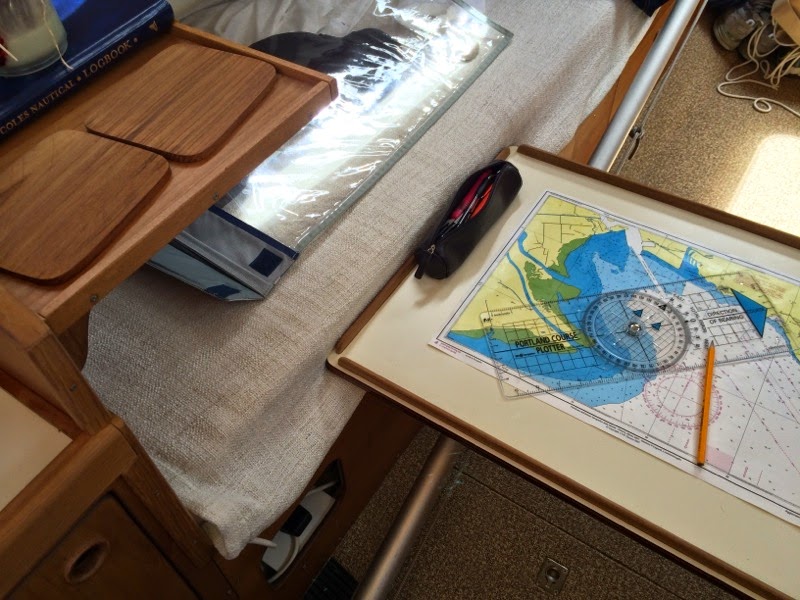
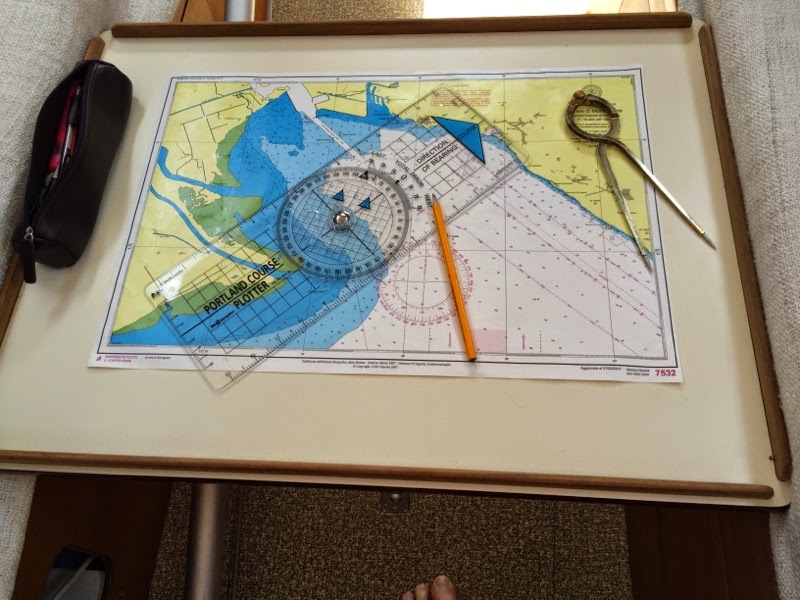
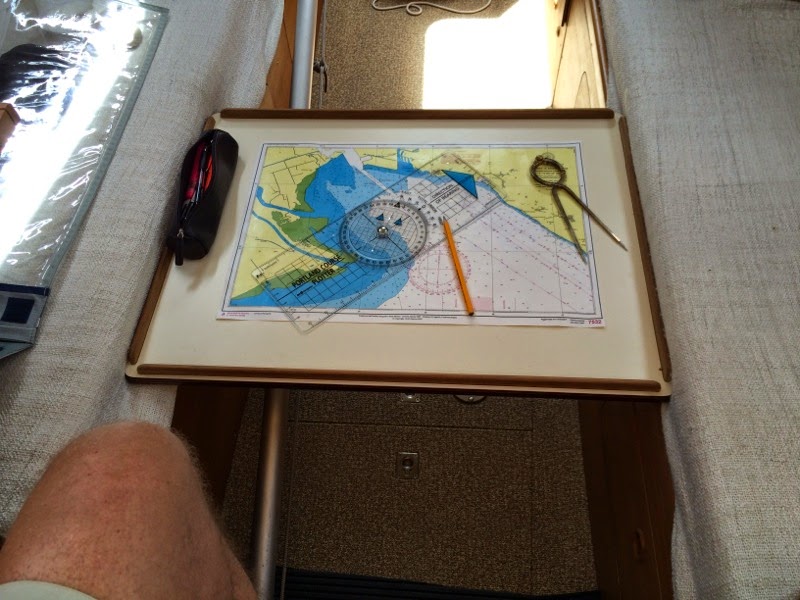
Il problema, se cosi si puo’ chiamare, è il tavolo da carteggio. non essendo previsto molti hanno cambiato il layout originale interno creandolo..io invece purista…ho deciso di mantenerlo! Ho solo costruito il tavolo da utilizzare come da foto. come utilizzo secondario ..un ottimo vassoio da pozzetto per servire le pietanze o giocare a carte ah ah ah ah!!!

Hello everyone!
despite having put on sale Dreamer the works inside continues, this in order to improve and optimize the space in this beautiful boat.
The problem, so if you can call, it is the chart table. not being provided many have changed the original layout inside creating it .. I rather purist I decided to keep it! I just built the table to use as a photo. The  a secondary use .. a great cockpit tray for serving food or play cards ha ha ha ha!

The Complete Marieholm26 scrapbook..!! All 1356 Refit’s photos !!!

Here all the 1356 photos I made in those years along Dreamer’s restoration!!

Click’ n go!
Immagine

Problemi Tecnici..!!Technical problem..!!

Ciao a tutti,
ci sono alcuni problemi tecnici per quanto riguarda le foto.
Sto uplodando tutto il materiale..circa 1450 foto con tutti i lavori fatti su Dreamer.
A presto le foto di nuovo on-line!!
scusatemi!!

Hello to all,
there are some technical problems regard  the photos.
I am by uploading all the material .. about 1450 pictures with all the work done on Dreamer.
Se on-line very soon!
Apologize me!!

Ombrinali nuovi..! New scuppers..!

Ecco a Voi i nuovi ombrinali.
Fidarsi e bene non fidarsi è meglio! Sopratutto se i vari passascafi e valvole vecchi di 30 anni, hanno un aspetto poco raccomandabile. Io ed Andrea in mezza giornata di lavoro abbiamo fatto il gran lavoro  sostituendo valvole e passascafi, la scelta è caduta sui prodotti quelli  GUIDI SRL da 3 pollice e mezzo solidi e ben fatti, che rispettano appieno le regole ORC..ovvero il pozzetto, quando pieno d’acqua si deve svuotarsi il prima possibile.
Il lavoro non è stato dei più semplici in quanto gli spazi di lavoro sono molto ristretti. Ora pero’ tutte le valvole compresi gli ombrinali hanno una contropiastra di rinforzo per evitare stress allo scafo. Il lavoro piu’ grosso è stato quello di passare e organizzare i vari tubi  sotto il pozzetto.
Alla fine comunque abbiamo vinto NOI!!! ..ora mi sento piu’ sicuro!!

Here’s to you the new scuppers, Existing ones were half-inch diameter plastic tubes and 30 years old thru-hulls and blocked -rusty seacocks.. not to trust at all!! Me and Andrea in an half day work we fix everything. We change all the stuff with brass thru-hull and seacocks of the highest quality made by GUIDI SRL, size 3 inch and a half, which fully comply with the ORC rules  .. the cockpit must be emptied as soon as possible. The work was not easy because the spaces are tight. Now all thru-hulls and scuppers have reinforcement to avoid stress to the hull. Most tricky work was adjust big pipes under the cockpit. But at the end.. we  won! .. and now I feel more safe ..

1266-01

Un grazie a Batsystem..! Thanks a lot Batsystem..!!

Volevo attraverso questo blog, ringraziare pubblicamente Mr. Joakim Christensson e Batsystem per aver risolto con celerità e professionalità un problema da me riscontrato con le lampade Batsystem 9405C tube LED che ho utilizzato in Dremer.
La mia scelta di utilizzare il meglio in fatto di qualità e design per la barca ha fatto cadere la mia attenzione sui prodotti Batsystem e precisamente sulle lampade batsystem 9405C LED.
Sfortunatamente il lotto di cui facevano parte le mie aveva un piccolo problema di cromatura. Contattata Batsytem in Svezia in pochissimo tempo hanno risolto il tutto.
La mia scelta non poteva essere migliore!
Grazie Joakim!
www.batsystem.se

I wanted to say public thank through this blog,  to Mr. Joakim Christensson of  Batsystem for solving quickly a problem that I encountered on the Batsystem tube 9405C LED lamps that I have used in Dremer.
My choice to use the very best stuff  in quality and design for Dreamer My attention was focused on the Batsystem’s products.. precisely on Batsystem 9405C tube LED lamps. Unfortunately the lot which included my lamps had a chromium plating problem. I contacted Batsystem in Sweden trough Joakim and in a very short time they fixed it.
My choice could not be better!
Thank you Joakim!

www.batsystem.se


Batsystem9405

Tube SMD gold, 9 SMD LED 2W 8-30V. With switch.

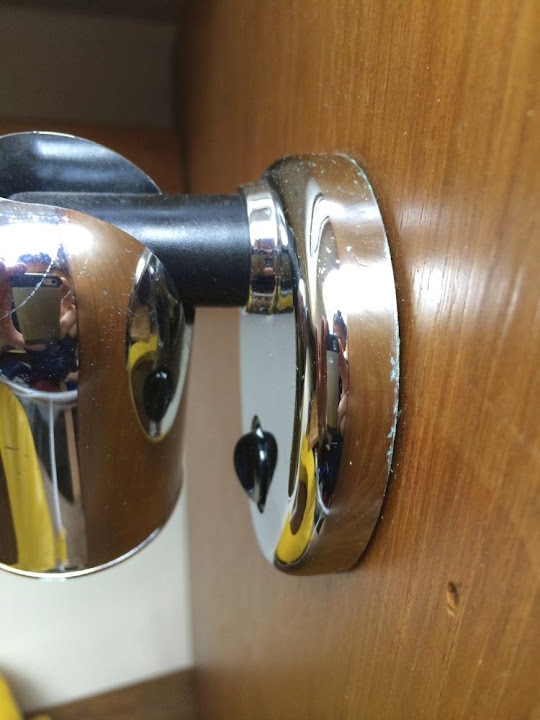
 chrome – art nr: 9405c

The Teak Radio Box….TRB

Buon vento a tutti!
il mio ultimo upgrade riguarda gli interni di Dreamer, è da un pezzo che ci penso..ma alla fine ho sistemato la mia Radio Sangean 909! Il problema di questa radio è che non sta in piedi  cade con un soffio!
Durante la navigazione sopratutto mentro via SSB decriptavo i meteofax con il mio Ipad bastava un onda e addio trasmissione.
Nel tempo libero mi sono ingegnato su come risolvere il problema evitanto come al solito di fare nuovi fori negli interni di Dreamer..ecco a voi il risultato..

Fair wind to all!
my last upgrade is in the Dreamer’s interior , Is long time that I think about it.. but in the end I made the teak box where to place my  Radio Sangean 909′! The problem with this radio is : It not stand!! It  falls with a breath!
While sailing  especially when I decript trought SSB the meteofax with my Ipad a small bump make the radio fly ..
In my spare time I have resolve the problem! I made a teak radio box fixed on the wall and off course avoiding any unnecessary  new holes in the interior of Dreamer .. here is the result ..


Scalini in Teak ultimati…! Finished Teak’s steps…!

Oggi finalmente ho concluso i lavori interni.
Dreamer ha nuovi scalini in Teak con relative strisce antisdrucciolo.
Io e Piero abbiamo costruito gli scalini in compensato marino incollando sopra con resina epossidica circa 5 mm di massello in teak . Successivamente sono stati verniciati con 4 mani di vernice Stoppani 910, carteggiati e infine verniciati a spruzzo con vernice Stoppani finitura satinata.Il giorno dopo  con una maschera abbiamo creato le striscie antisdrucciolo combinando vernice e sabbia di vetro questo per evitare fastidiosi scivolamenti entrando in cabina.
Dimenticavo.. il primo scalino è stato ingrandito di circz 2 cm in lunghezza e studiato in modo che la testa in teak copra uniformemente il cassetto porta posate dando un senso di eleganza e pulizia.

Today I finally finished the interior work on Dreamer.
Me and Piero made the new teak’s steps with non-slip strips on. We did the steps in marine plywood glued with epoxy witht 5 mm solid teak, then coated with 4 coats of paint Stoppani 910, sanded and finally sprayed with a matte paint Stoppani coats .To make a no slip stripes we create a mask and after we spray Stopani coats and glass sand.
This is to prevent annoying slippage entering the cabin.
Forgot .. the first step has been made more bigger of 2 cm in length and designed so that the steps  cover all and to create a nice cleaning looking.

ONE MORE……


Cornici del tambucio..!! Hatch’s frames..!!

Oggi 31 marzo ho completato le cornici del tambucio. Originariamente di Teak sottili 5mm sono state ricreate assieme a Piero con spessore di 10mm sempre in teak. Tagliate con bordo a vista più’ alto per nascondere  anche la vetroresina originale e creare un senso di calore e.. perfezione che a me piace tanto. Il problema comunque è stato quello di adattare le cornici alla stampata della barca… effettivamente non perfetta…tagli inclinati e tanti aggiustamenti alla fine mi hanno premiato. Ah..dimenticavo, i tappi di teak che coprono le viti sono stati incollati con colla epossidica e allineati alla vena di teak.. March 31 Today I completed the frames of the hatch. Originally Teak thin 5mm have been recreated with Piero with a thickness of 10mm. ù The frames are cut more high to hide the original fiberglass and create a sense of warmth and perfection .. that I like so much. The problem, however, was to adapt to the  frames of the edge of the hatch … actually … not perfect!! Crosscuts and many adjustments I was finally rewarded. Ah .. I forgot, teak plugs that cover the screws were glued with epoxy and aligned to the vein of teak ..